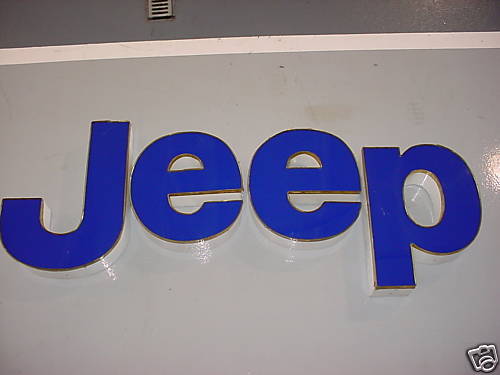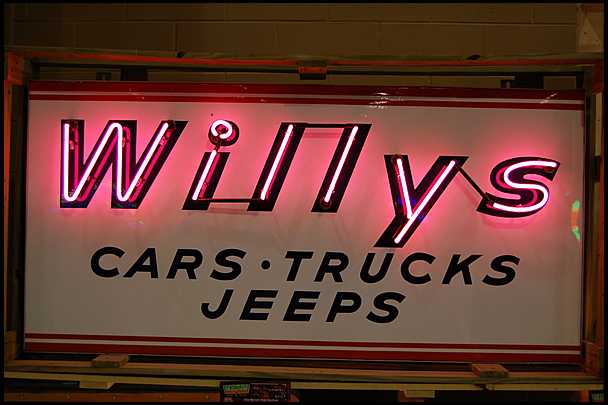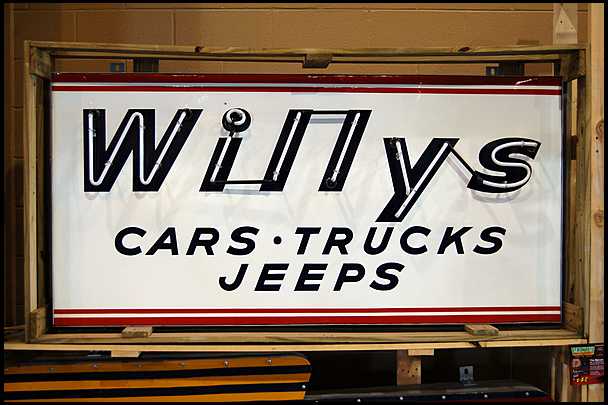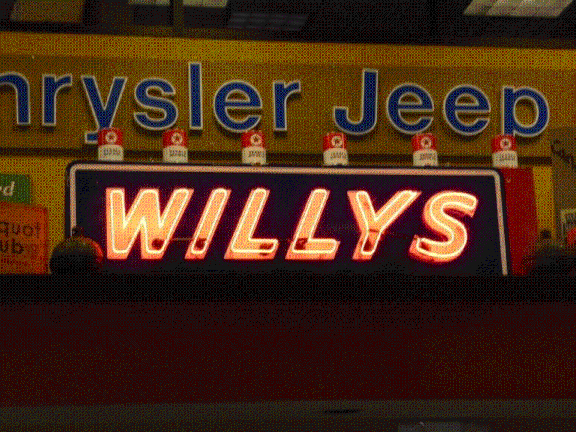
The first job was to strip the sign down. Even though the housings
were made of aluminum, the white paint on them was chalky.
|
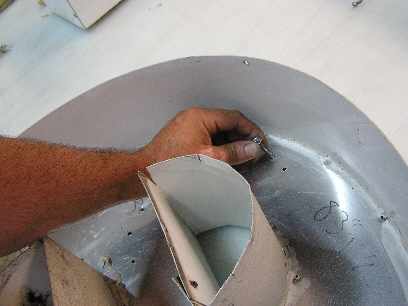
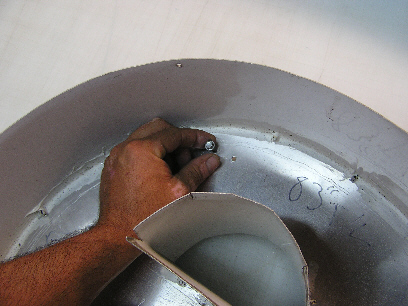
The screws that held it on to the dealership building were still
sticking out of the sign and they needed to be removed.
|
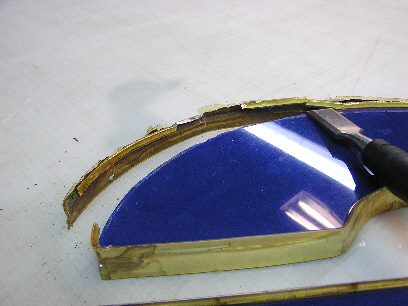
The gold trim was in pretty bad shape as the gold
plastic was delaminating from the aluminum. It needed to be taken off.
|
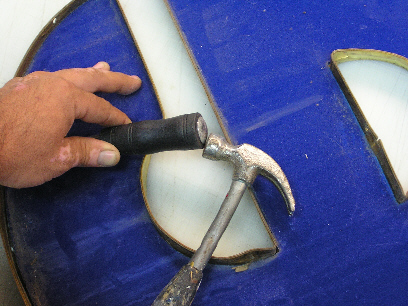
Some places needed a little more persuading!
|
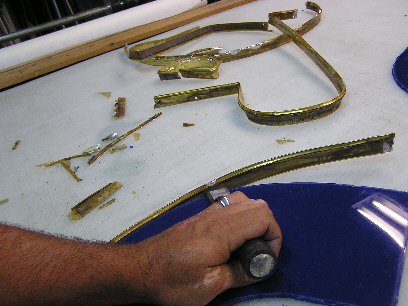
All gold trim removed was saved in case the next owner wanted it for some strange reason!
|
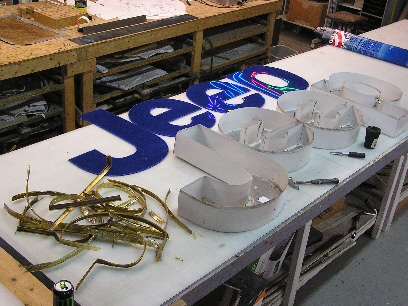
All trim removed from the plastic letters along with the housings!
|
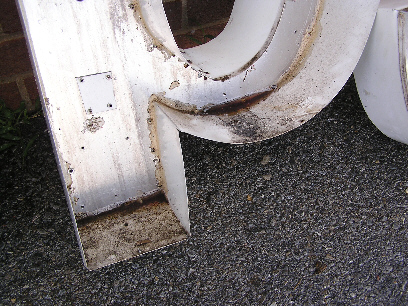
The housings were pretty dirty from hanging on a building for years.
|
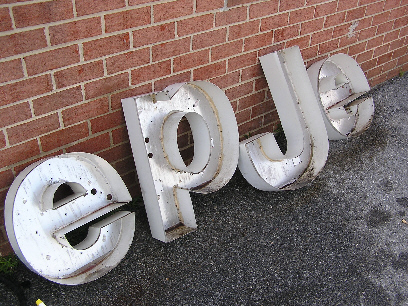
Housings ready to be hosed down!
|
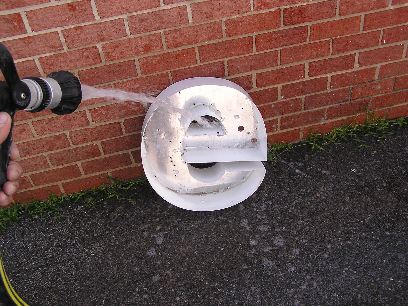
Letter e being cleaned probably for the first time in decades.
|
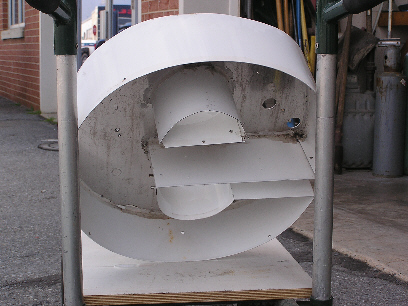
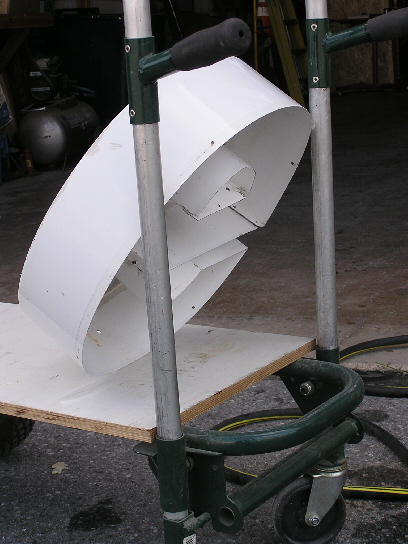
Letter e drying on a cart.
|
|
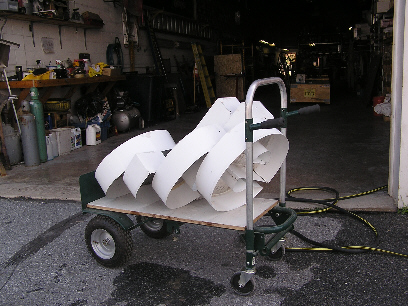
Letters cleaned and ready to be sanded.
|
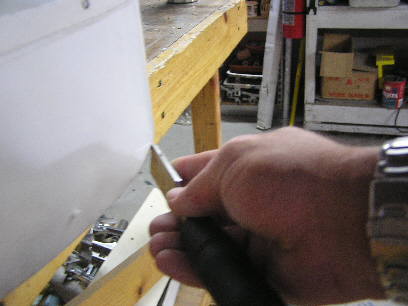
There were quite a few areas where whoever painted
the dealership building got paint on the letters. These areas needed to be removed with a chisel.
|
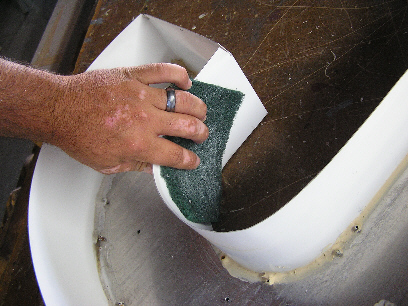
Sanding down the outside of the letter J.
|
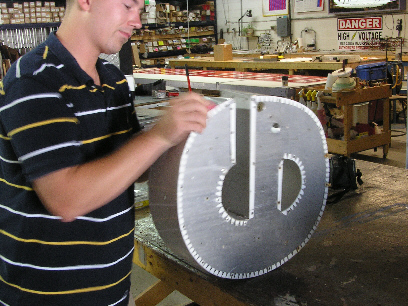
Sanding and more sanding.
|
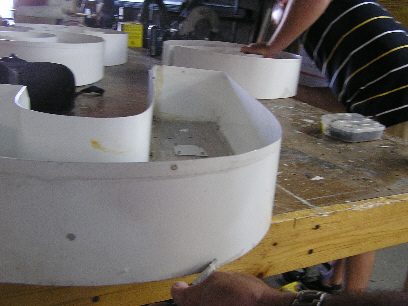
Is this sanding ever going to be done?
|
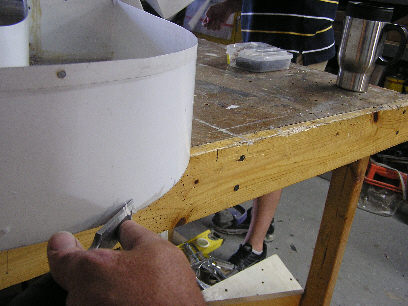
More paint from the sloppy building painter.
|
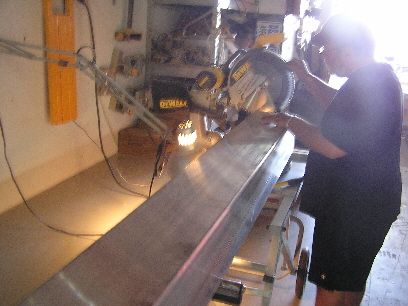
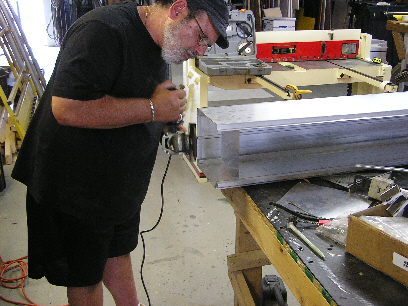
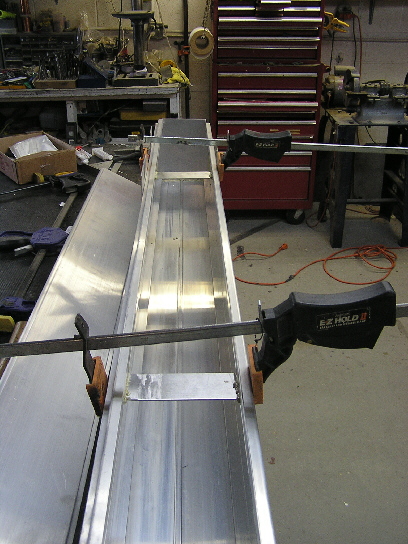
Making up a custom aluminum raceway to mount the letters.
|
|
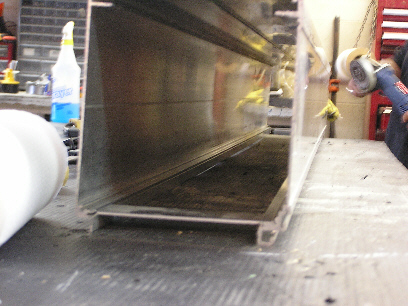
Inside the raceway.
|
|
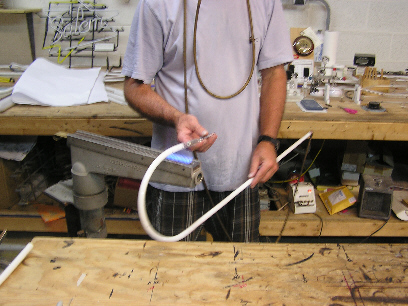
Bending the glass tubes for the neon.
Even though the sign did not have neon inside it when it was mounted on the dealership building,
it did have provisions for it. I wanted to have a lighted sign and the guys at Affordable Signs
and Neon could do that for me!
|
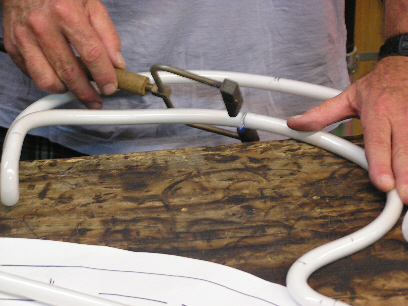
Splicing of 2 glass tubes.
|
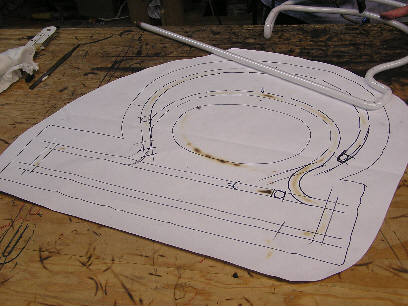
Because of the size of the letters, it was recommended that I go with a double row of tubes.
The layout of the tubes were drawn out on paper first.
|
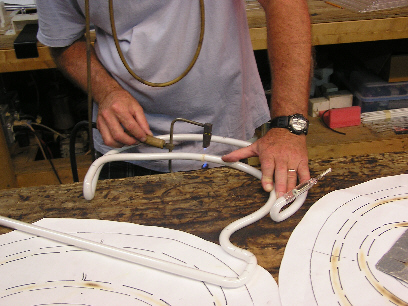
Working on one of the neon tubes for the "p"
|
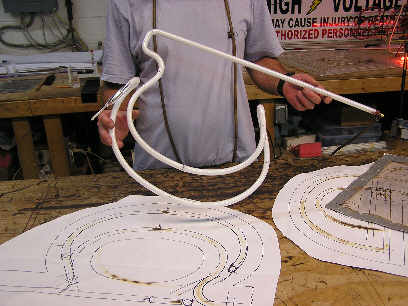
"p" neon tube complete!
|
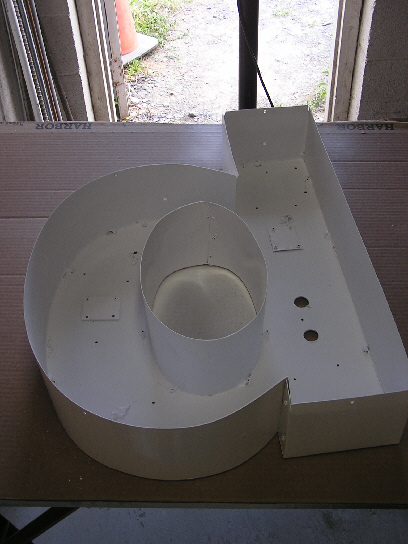
"p" housing with a nice coat of white paint.
|
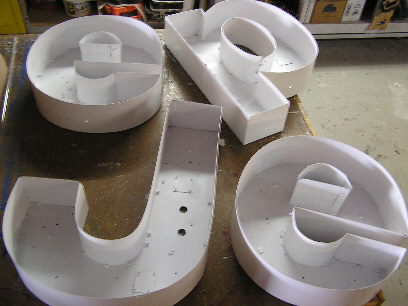
The rest of the letters with a coat of white paint.
|
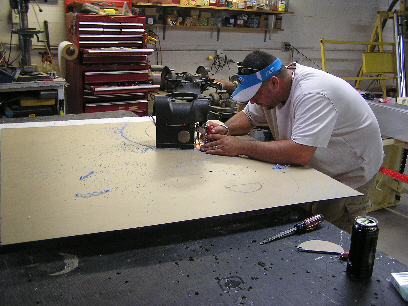
"Cutting new letter plastic - One of the letter "e"s
was cracked and some of the other ones had scratches. Since I was going
to be mounting this on the wall in my basement, I wanted it to look nice.
The old letters were used as patterns to make new plastic that matched the
original.
|
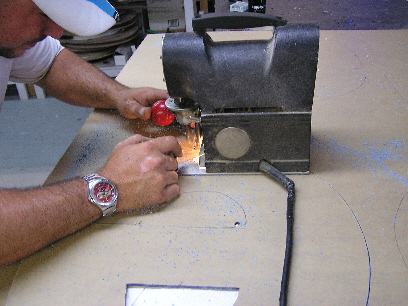
Carefully cutting out one of the letter "e"s.
|
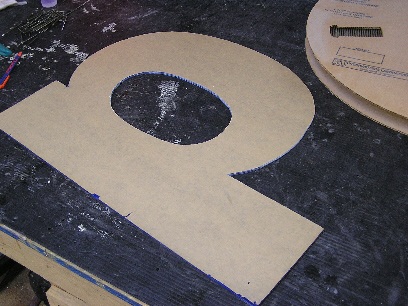
A new letter "p" cut from new plastic.
|
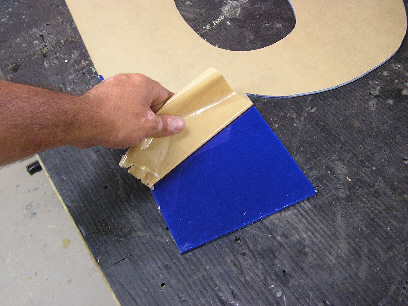
The protective paper was removed from the letter after it was cut.
|
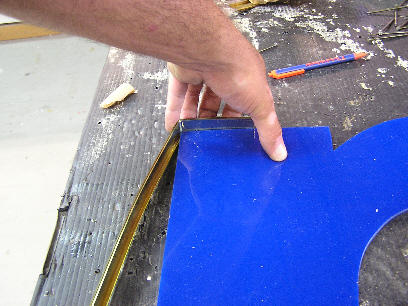
Starting to make a new gold trim for the letter "p"
|
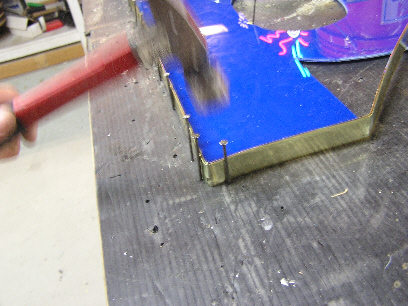
Nails are hammered in to make sure the trim stays tight around the letter.
|
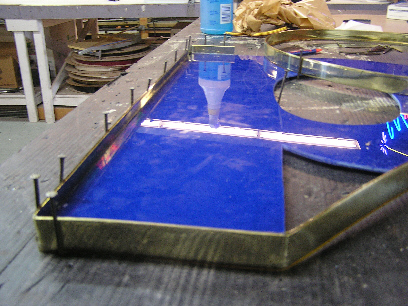
Straight edges are done, now for those tricky curves and corners!
|
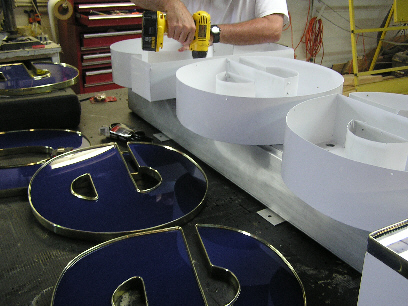
Trim is completed for all the letters.
|
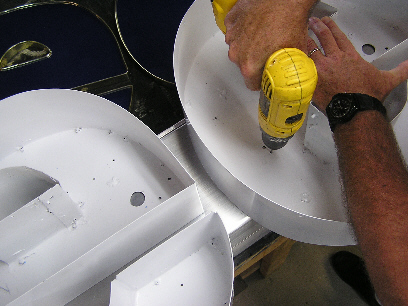
Letters are drilled to be mounted on the raceway.
|
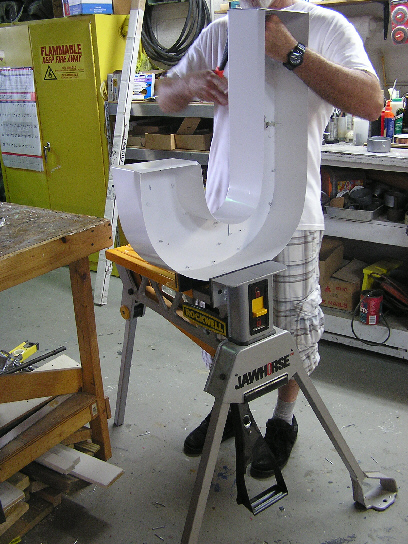
Installing the glass tube supports in the letter "J"
|
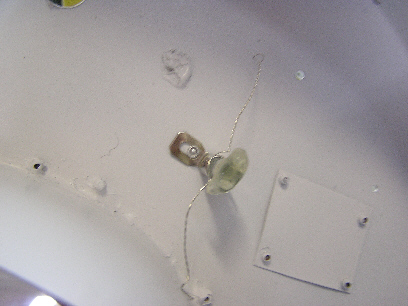
Glass tube support mounted.
|
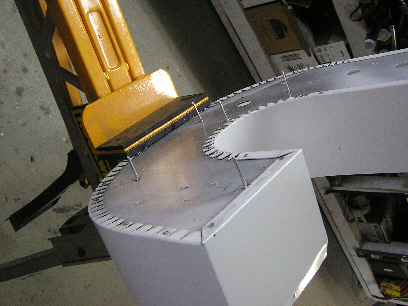
Back of letter "J" with glass tube supports installed
|
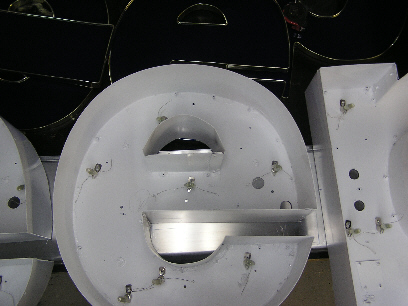
"e" housing mounted with glass tube supports and ready for neon!
|
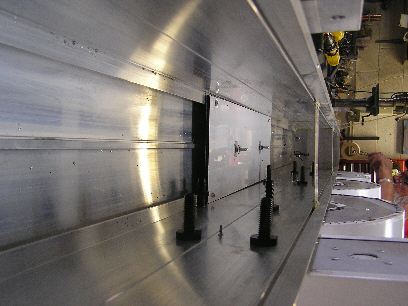
Inside the raceway with high voltage connectors for the neon for each letter.
|
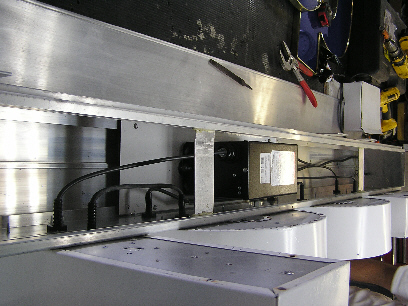
High voltage transformer installed and wired up to the high voltage connectors for the letters.
|
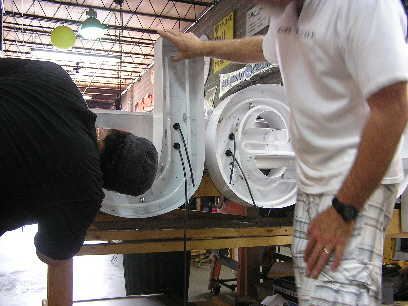
Hooking up the letter "J" neon!
|
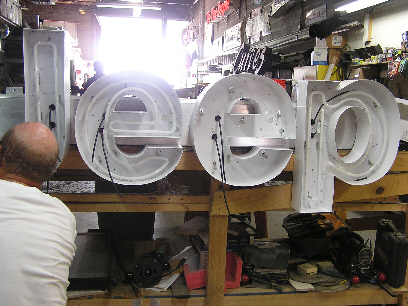
3 of the letters now have neon
|
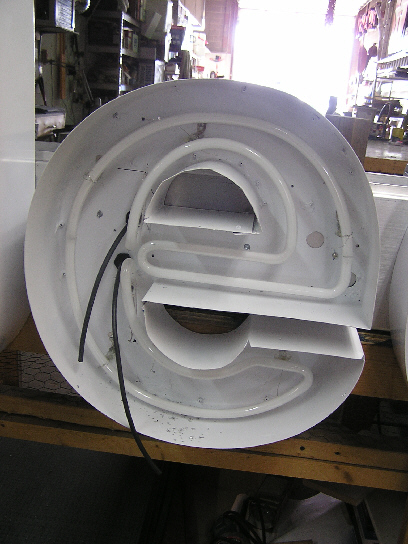
Closeup of the letter "e" neon.
|
